- Setting up your Raspberry Pi 5 device and bringing it online on the balenaCloud dashboard.
- Deploying a Node.js hello-world project on the device.
- Developing the sample project: making changes and testing them on the device in real-time.
What you’ll need
- Your Raspberry Pi 5 device you want to get started with. Check out all of our supported devices.
- A tool to flash the new operating system on the device. We recommend Etcher.
- A way to connect the device to the internet, either through wifi (if available) or ethernet cable.
- A method of reliably powering the device.
- A balenaCloud account. BalenaCloud is free for upto 10 devices and requires no payment method to sign up.
- Install balena CLI to develop & manage your device on balenaCloud.
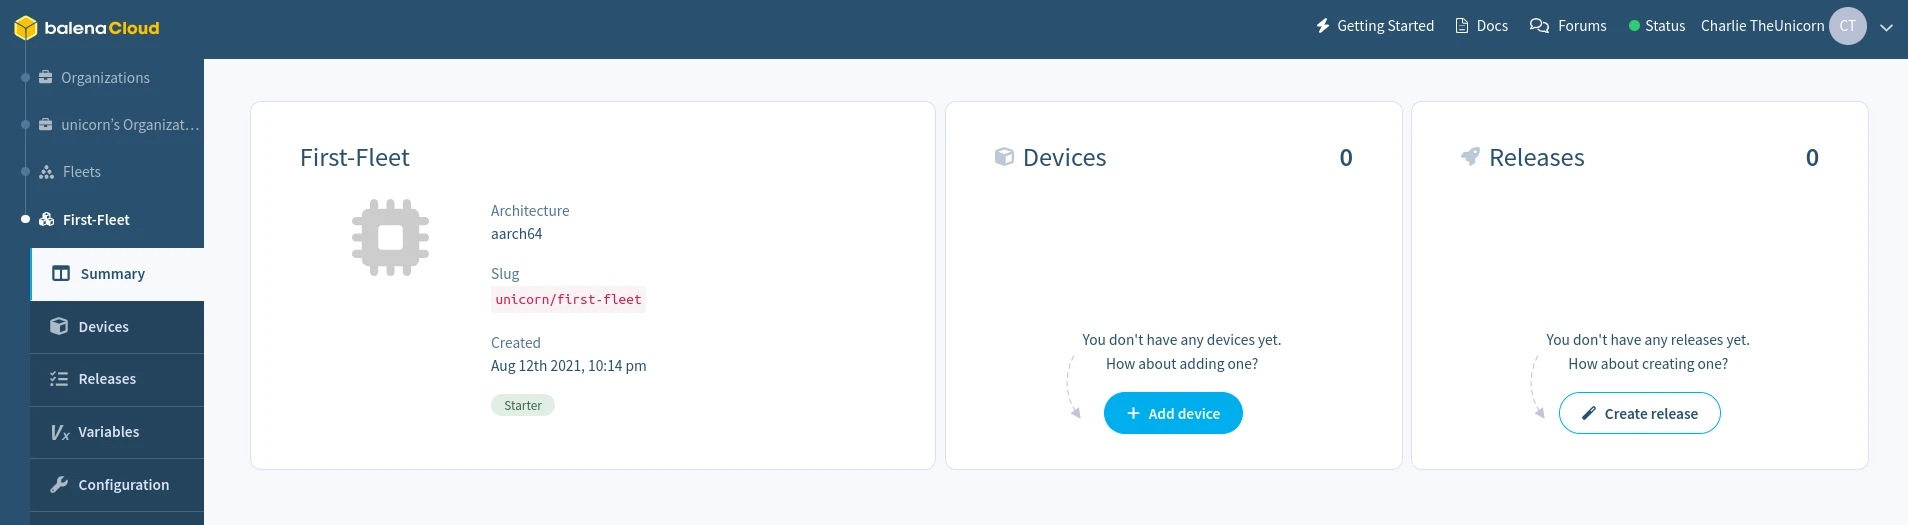
Create a fleet
A fleet is a group of devices that share the same architecture and run the same code. Devices are added to fleets and can be moved between fleets at any time. To create your first fleet, log into your balenaCloud dashboard and click the Create fleet button.

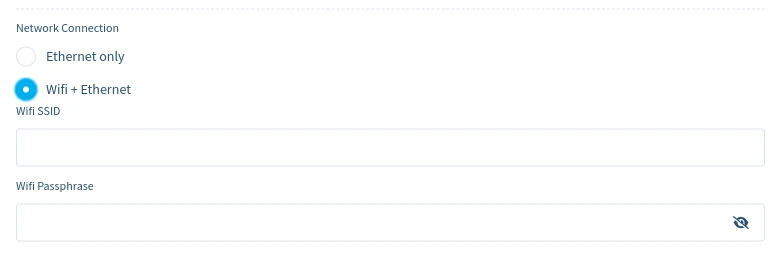
Add a device and download OS
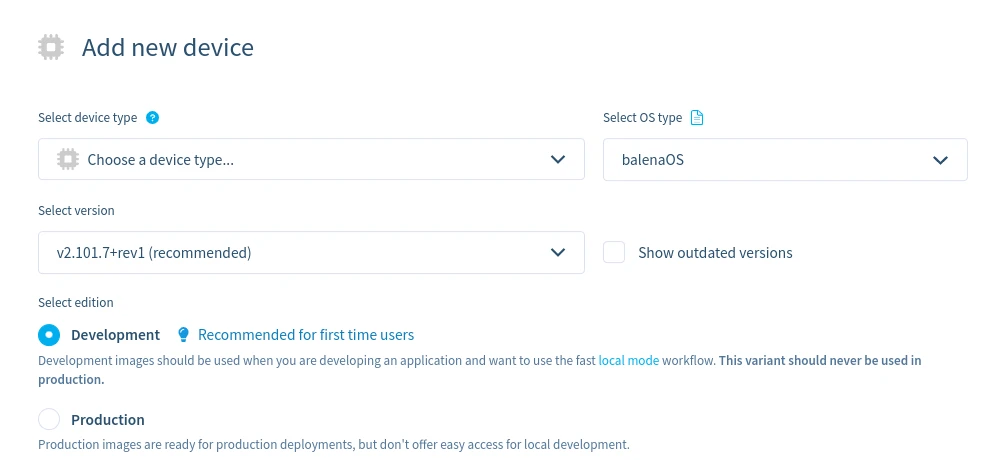

balena-First-Fleet-raspberrypi5-2.80.3+rev1-v12.7.0.img.zip.
Provision device
Next, we will flash the downloaded image onto the device. To do so, follow the following steps:- Insert the SD card to the host machine.
- Write the balenaOS file you downloaded to the SD card. We recommend using Etcher.
- Wait for writing of balenaOS to complete.
- Remove the SD card from the host machine.
- Insert the freshly flashed SD card into the Raspberry Pi 5.
- Connect power to the Raspberry Pi 5 to boot the device.
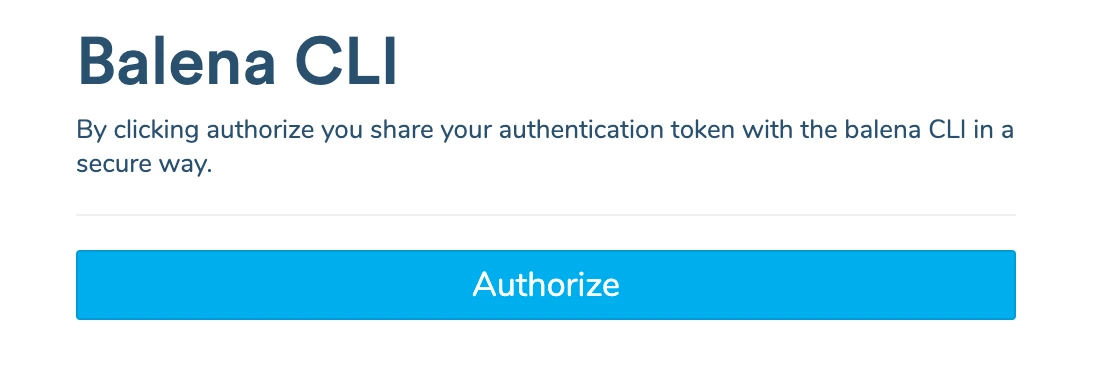
Install the balena CLI
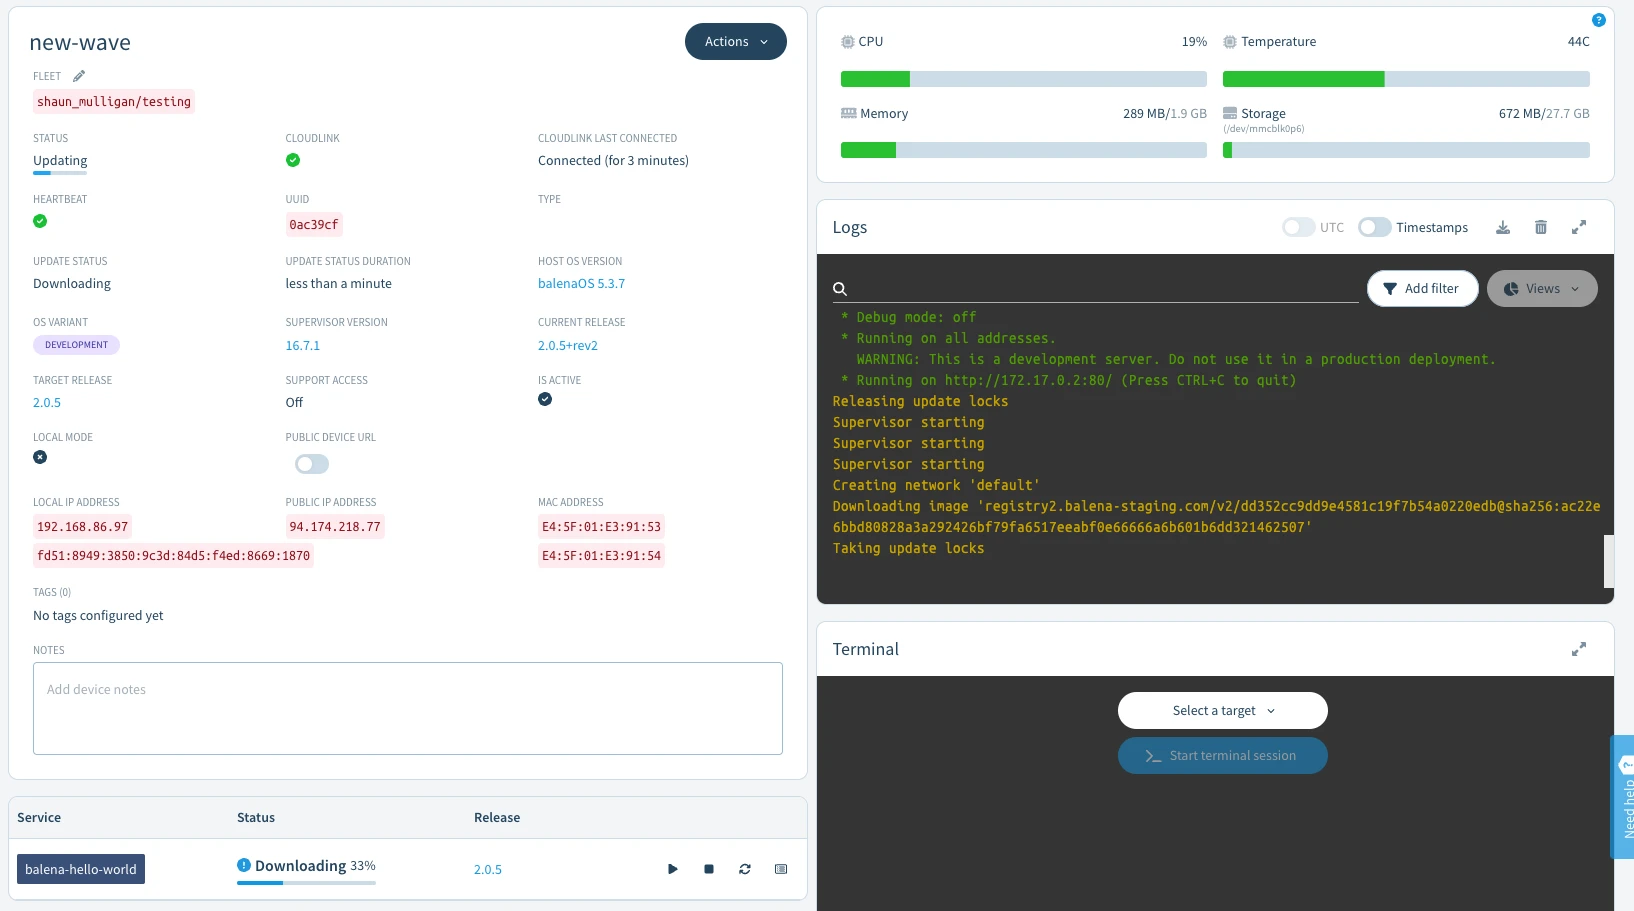
Now that you have anoperational device in your fleet, it’s time to deploy some code. We will use the balena CLI for this. Follow the instructions below to install balenaCLI for the operating system available on your system. Skip the next part if you have balena CLI already installed.
- macOS
- Windows
- Linux
To run balena CLI commands, open the Terminal app (Terminal User Guide).
balena login command on the terminal:
Create a release
After login, test the balena CLI by running thebalena fleet list command, which should return information about the fleet you created in the previous step. Take a note of the fleet NAME as you’ll need this in the next step to push the code to your device(s) in that fleet.
balena push First-Fleet command replacing First-Fleet with the name of your fleet. Ensure you are working from the root of the extracted project directory.
Developing your project
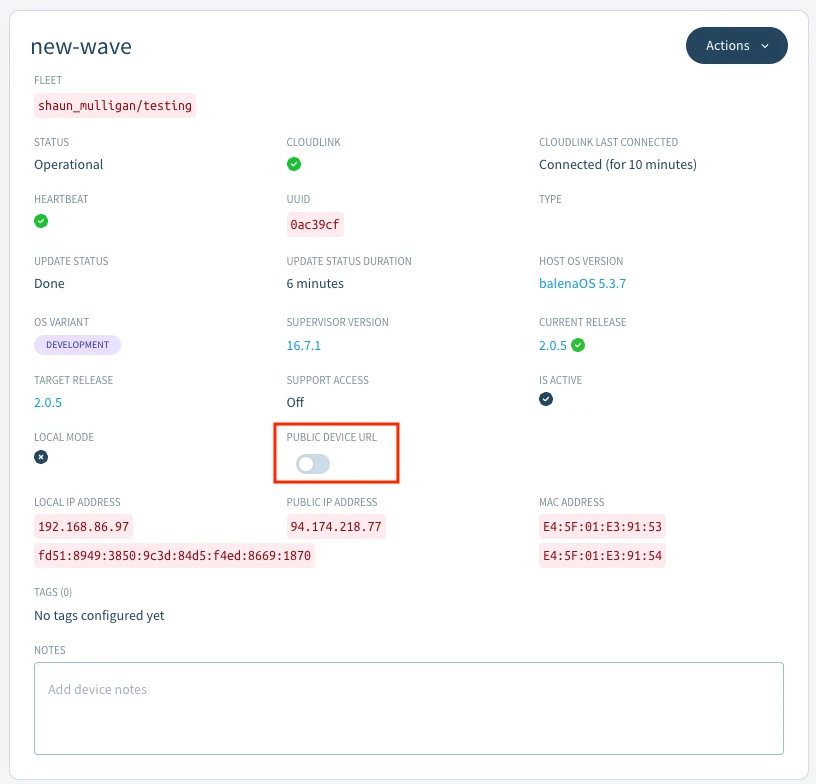
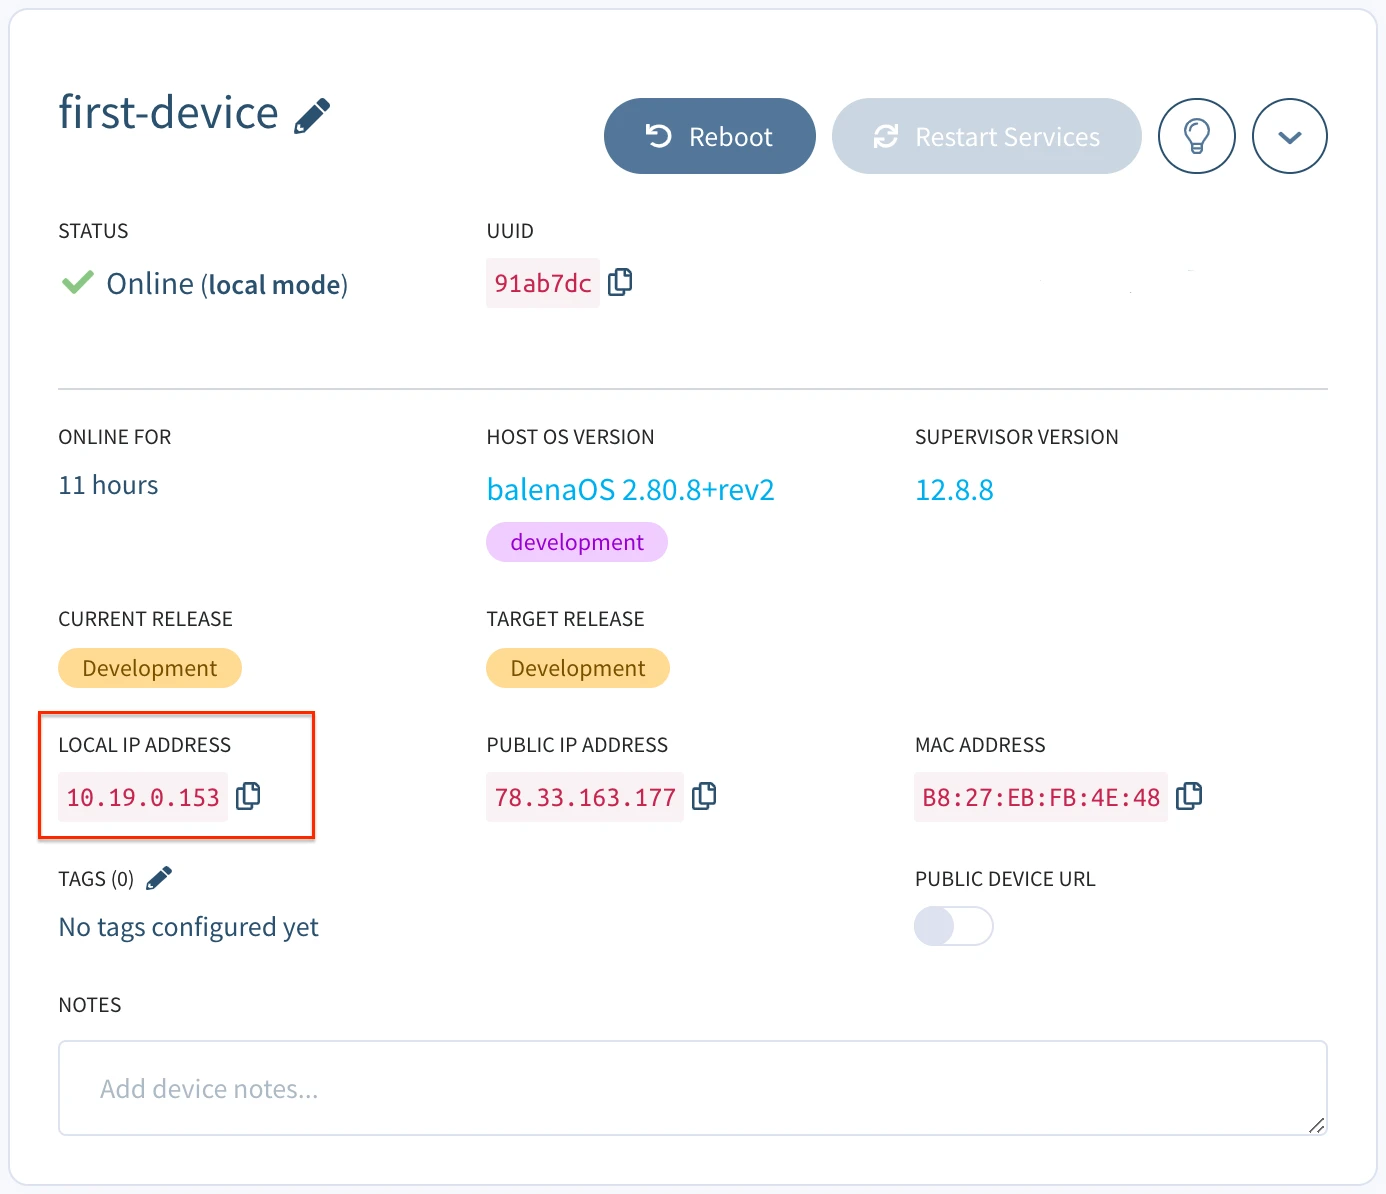
Now, let’s try making some changes to this project and testing them right on the device. The project can be modified and pushed again using the same method as above, but since we are using a development version of the OS, we can enable Local mode and push directly to the device for a faster development cycle. Activate local mode on the device via the dashboard.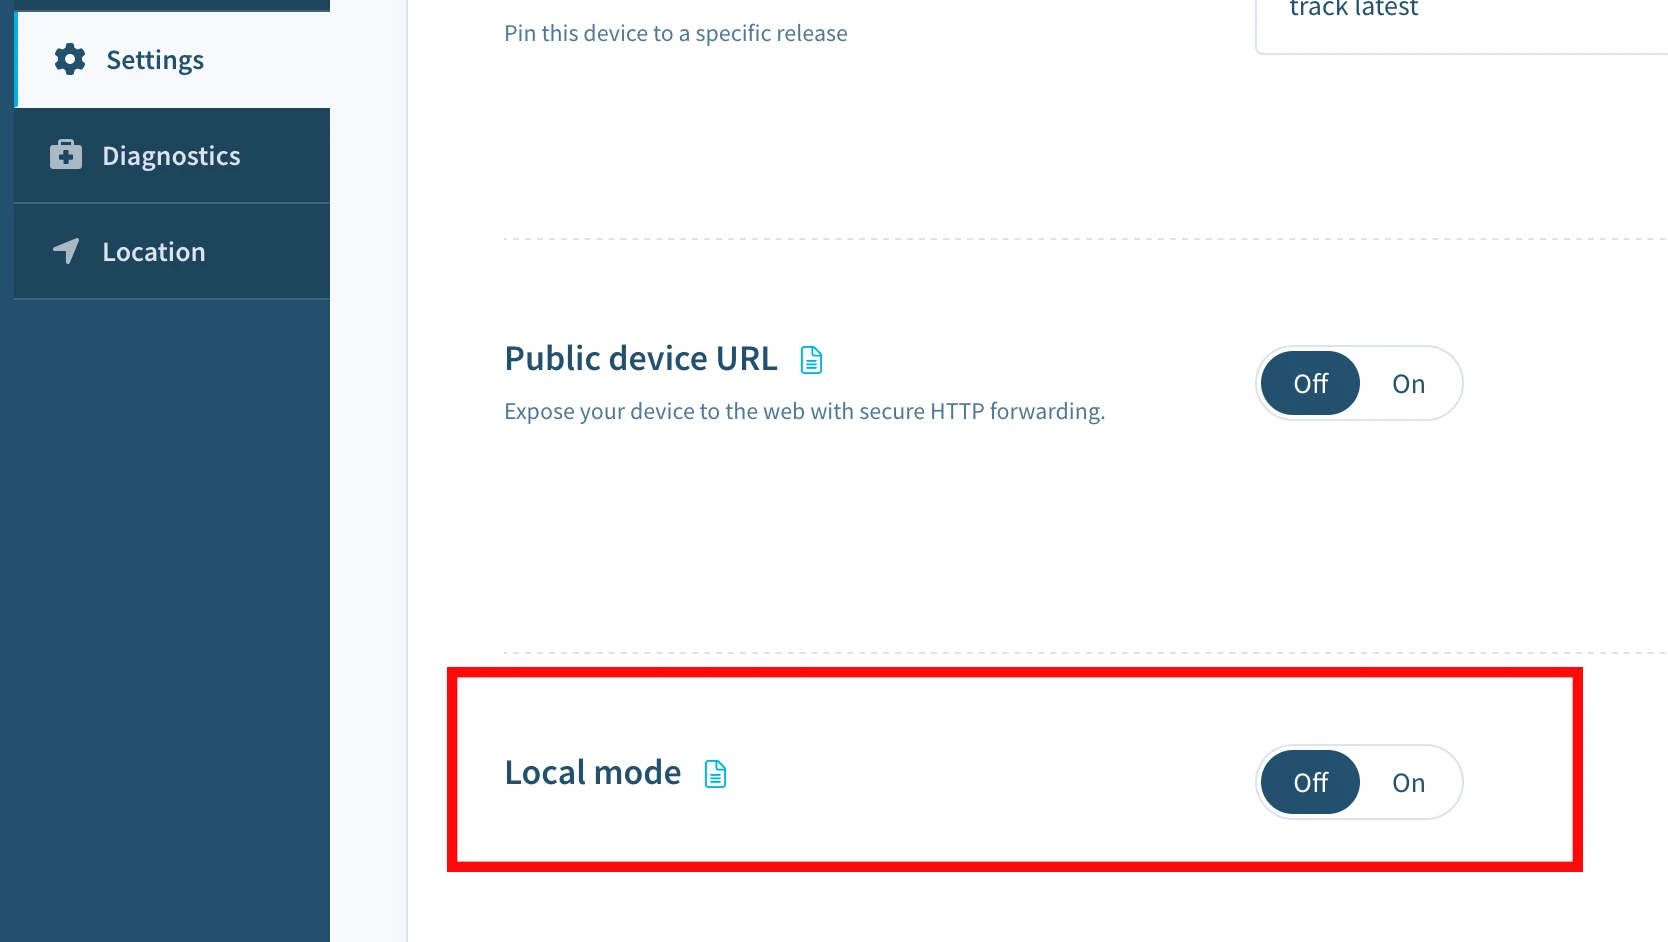
balena push again, but this time we will push directly to the local IP address of the device obtained via the dashboard.
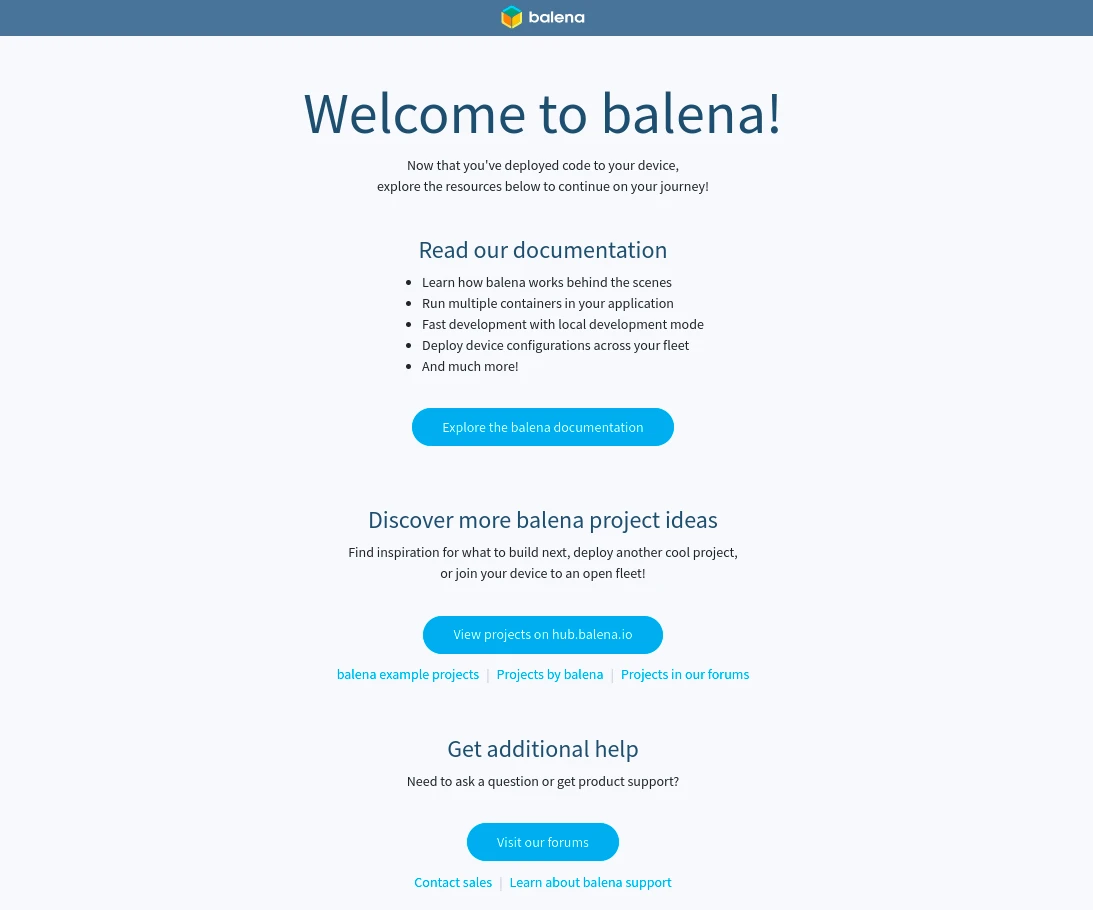
index.html file present in the static directory of the project. Open the file and change the title from Welcome to balena! to Hello balena! and save the file. After saving the changes, you can observe balena CLI automatically start rebuilding only the parts of the Dockerfile that has been changed.
Next steps
Once you’ve finished making your changes, disable local mode and the device will revert back to running the latest release that’s on your fleet. To update your fleet with the latest changes you’ve just worked on, usebalena push <fleet name> once more to create a new release with those changes.
When it’s finished building the device(s) will update as before. Remember anything pushed to the fleet in this way can be applied to 10+ or 1000+ devices with no extra effort! To continue learning, explore parts of the guide in more detail:
- Learn more about local mode, which allows you to build and sync code to your device locally for rapid development.
- Develop an application with multiple containers to provide a more modular approach to fleet management.
- Manage your device fleet with the use of configuration, environment, and service variables.
- Find out more about the balena CLI and the functionality it offers.
- Visit our blog to find step-by-step tutorials for some classic balena projects.
- To publish what you will build or have already built, head over to balenaHub.
- If you find yourself stuck or confused, help is just a click away.